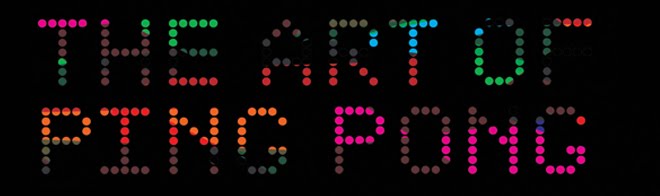
Friday, 30 September 2011

Eye Cue


LEGO has just dipped another toe into electronic gaming with their clever “Life Of George” iOS title. The game uses 144 pieces and a piece of cardboard covered in a dotted pattern. The game is simple: George shows you a picture from his travels and asks you to recreate it using Legos. You have to dig around in your box of pieces to recreate the image and then take a picture of it on the Playmat. Using a brick recognition system from Eye-Cue.

Friday, 25 February 2011

Prototypes: Set up #4 - Full Size

The Art of Ping Pong Prototype #4 - Full Size from Jono Sandilands on Vimeo.

Using the same rough sketches as the last prototype (see here). The application uses colour tracking to track the red ball.

I set up a makeshift table using really thin sheets of board - they kinda absorbed the bounce making it really hard to play normally - will need to get a better surface even to test on - even an old ping pong table would be great - if anyone can help?

So hopefully in the video you can see how the projector and camera are placed at a high angle to the table - this test has confirmed that the projector and camera (especially) need to be directly above (or below if I can source a reasonably priced short throw projector - see table plan option 1 here).

Next:
A lot of work needed on the application
More tests of actual gameplay at full speed - I think the camera I currently use may not pick up high speed play.
Also work on plans for construction of the final table.

One step further...

Construction: Table option 2

So after a test with projector at a slight angle above - it confirms the tracking camera and projector would need to be directly above the table - if the inside table, original idea (see here) is not plausible. Would need a transportable rig to firmly hold the projector and camera and the idea would be to have two large tripod stands with a gantry frame/ rig over table.

Source website: http://www.cokerexpo.co.uk/lighting.htm

Prototypes: Set up #4 - Full Size


Quick screen grab from video clip of full size working set up. Video coming soon.

Tuesday, 22 February 2011

Construction: The Table


Rough Table model - produced in Google Sketch Up
Note: 1 clear side on top and 1 side panel absent to allow view inside table.

I had always planned to build a 'special' table for The Art of Ping Pong, but I have only recently begun to think about how it may look. It does need to be within a budget so have tried to come up with something which works to that.

I should think about how to transport this and also store it - can it come apart? Flatpack? Fold up?

Technology: Ideally everything would be housed inside the table - but have not tested out all potential routes yet. (ie short throw projector could be expensive + camera to track motion may have to be placed above table). The printer could be accommodated in a much cleverer way (perhaps much like a photobooth style when photo drops out).

Build: There would be a frame of rough sawn timber and boxed in bottom and sides with plywood and doors for access. The top would consist of perspex sheeting which allows for backlit projection. With standard table tennis equipment. I'd also plan to 'brand' the table with vinyl logo etc.

Brainwave: Just another thought for marketing - get printed ping pong balls with logo + web.

Prototypes: Set up #3 - Colour Tracking

The Art of Ping Pong Prototype #3 from Jono Sandilands on Vimeo.

After a bit of getting back to basics in Processing over the past few days - here is another test/rough sketch but this time using colour tracking using a camera above, specifically of a red ping pong ball.

Basically the red ball acts like a pen and draws it's path onto the screen. There are two versions in the video - one which just builds up ellipses and one in which the ellipses become smaller with each update. (Screenshot below)

Be quite good to get this tested on a bigger scale - with actual gameplay. I will use projector from high angle with keystone and create makeshift table with camera directly above.

I can maybe even start thinking about more dynamic graphics and importing vectors. Other thing to think about with this is - people wearing clothing the same colour to the ball - also scope for using a collision sensor or microphone in the table to only record when the ball actually hits the table. - When doing these tests I placed my hand on my test piece of perspex - and could feel the vibration when the ball hits the surface - may not work on larger surface but be worth a test... soon time to get Arduino out.

Learning: Daniel Shiffman


A bit more advanced & in depth than the YouTube tutorials I have been working through. Looks great!
http://www.learningprocessing.com/